This week's Shasta work was slowed down considerably by the huge thunderstorm we had. A tree fell on our driveway and although I was glad it didn't hit the cars, I was extra glad that it didn't hit our Shasta.
I think it is safe to say that our Shasta was built crooked. Now whether this was to facilitate rain run-off or just the natural by product of trailer assembly who can say. Putting the skin back on Sharona was a real test of Jeff's patience.
Jeff says to post on the blog that when building a Shasta from the frame up, build 1/2" too narrow on the length and width. You can use the extra siding (if there is any) to wrap around the edge to make a good seal.
After several hours of work and a couple of small tantrums her roof skin went back on. After several more hours and a significant bruise to my left arm the other skin found its way back to the walls.
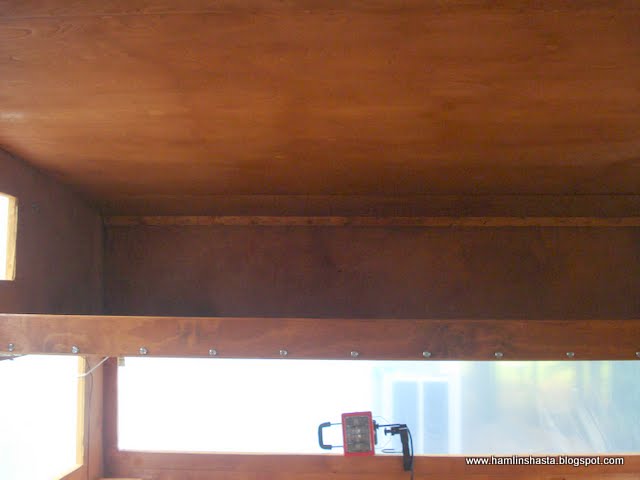
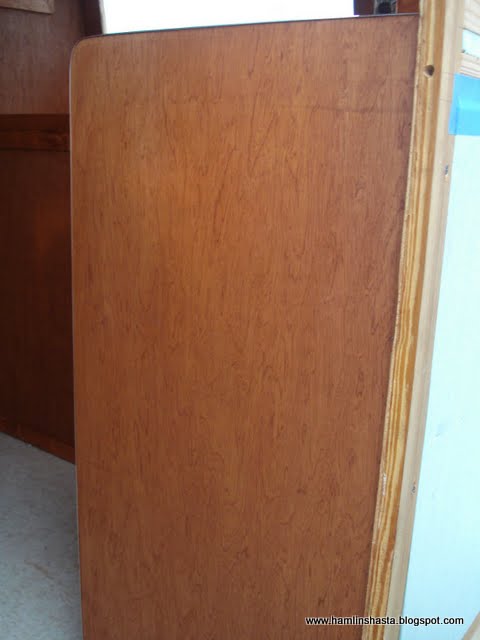
I also finished the staining of the interior. We still have a coat of poly to put on the wood but the nasty staining business is apparently behind me now.
Of course this is family project so Myra had to have a job. Growing up with us as her parents she will have a life-long love for tinkering.
After the skin was in place I couldn't resist putting a small paint swatch on the panels.
On other fronts...the sink faucet I ordered came in and I finished the accordion mattress project for the bunk bed.